


Overview
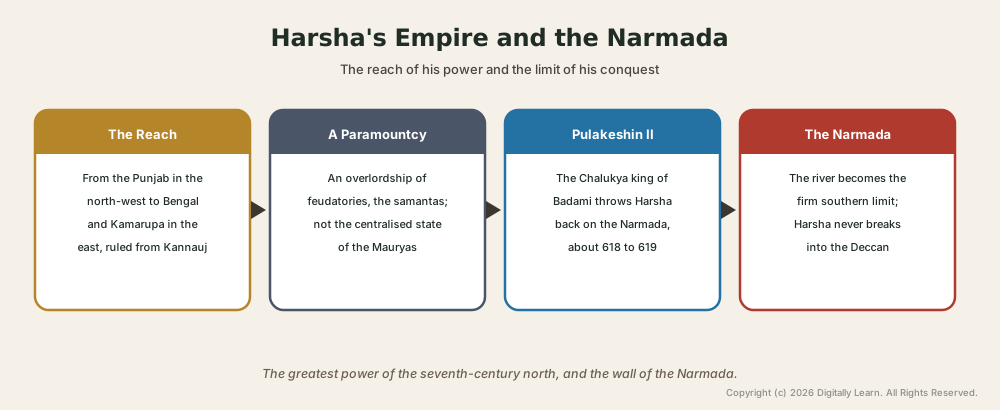
The Harsha empire was the greatest power of seventh-century north India, but it was an empire of a new and looser kind. From his capital at Kannauj, Harsha held an overlordship over much of the north, from the Punjab to Bengal, a paramountcy of feudatory kings rather than the close-knit, centralized state of the Mauryas. In the south his power met its limit: Pulakeshin II of the Chalukyas of Badami threw him back on the Narmada, which became the firm boundary of his realm. This part covers the reach of the empire, its nature as a paramountcy, the check at the Narmada and the exam focus.
The Reach of Harsha's Empire
From the Punjab to the Bay of Bengal
What is the significance of the reach of Harsha's empire: at its height it gathered much of north India under one overlord for the first time since the Guptas, making Harsha the chief king of the north.
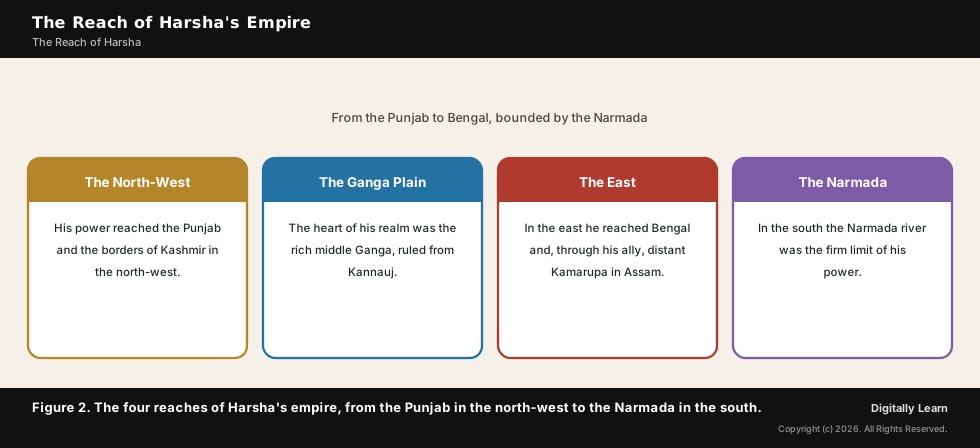
From his seat at Kannauj, Harsha's power ran north-west to the Punjab and the borders of Kashmir, and eastward over the middle Ganga to Bengal; through his ally Bhaskaravarman of Kamarupa it touched even distant Assam. In the south, however, the line of the Narmada marked the firm edge of his rule.
This was a wide dominion, but it was not the whole of India, as the popular phrase the last great northern emperor can wrongly suggest. The west and the Deccan lay outside it, and the unity it gave the north rested on Harsha's own person rather than on a settled machinery of state.
The Map of Harsha's Power
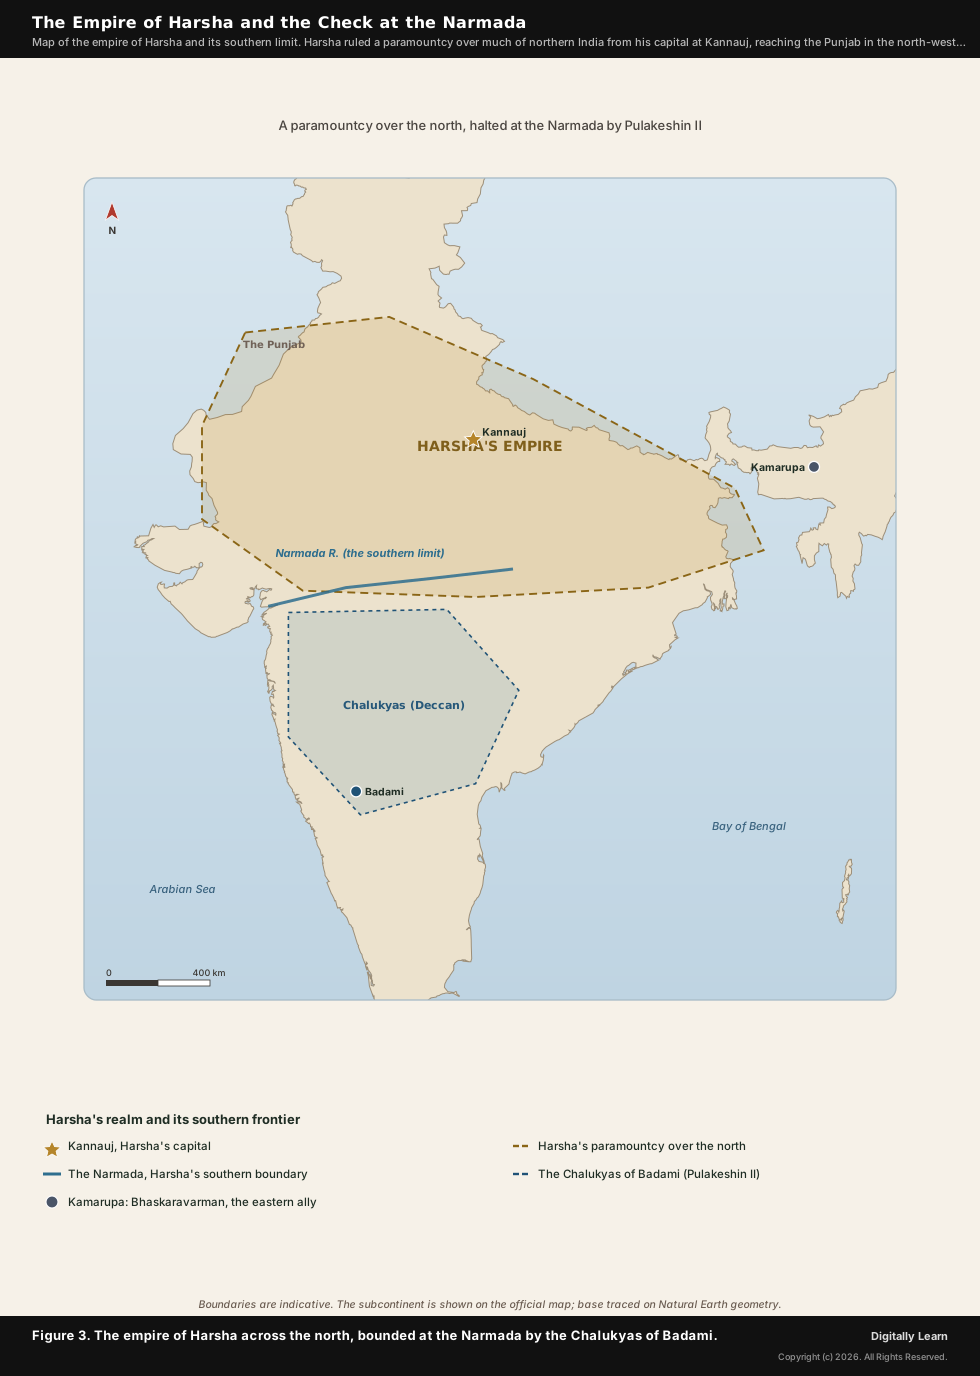
Distinguishing the shape of the realm: the map shows at a glance the north under Harsha, the Narmada as its southern wall, and the Chalukya power that held the Deccan beyond.
The map sets the empire of Harsha across the north, with Kannauj at its heart and the Narmada as its southern boundary; south of the river lies the kingdom of the Chalukyas of Badami, and far to the east the allied land of Kamarupa. The single line of the Narmada divides the two great powers of the age, the north of Harsha and the Deccan of Pulakeshin II.
The Nature of Harsha's State
A Paramountcy of Feudatories, Not a Centralized Empire
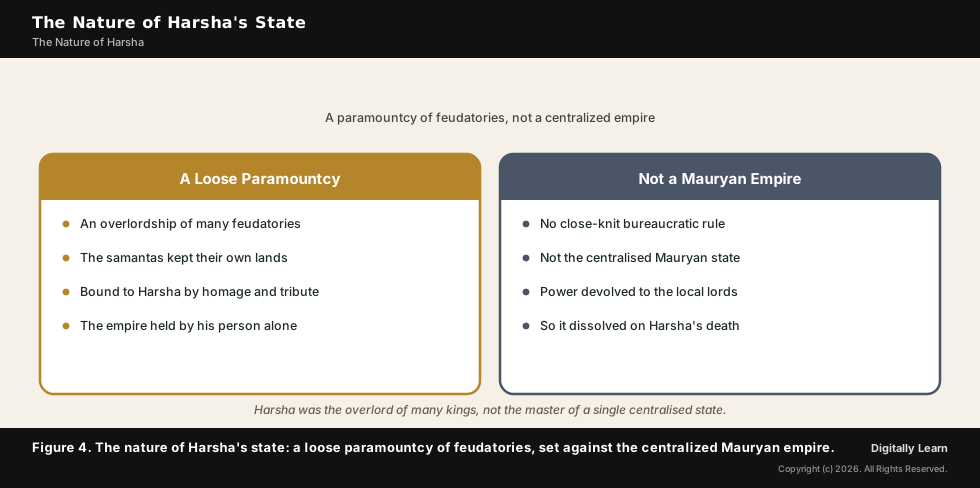
What is the significance of the nature of Harsha's state: it was a paramountcy, an overlordship of many kings, and not the close-knit centralized empire of the Mauryas, a distinction the examiner often tests.
Harsha ruled not by a single chain of officials reaching to every village, as the Mauryas had, but as the overlord of a host of lesser kings, the feudatories or samantas. These lords kept their own territories and their own armies, and owed Harsha homage, tribute and service in war, but governed their lands themselves.
Even the Aihole inscription of his enemy speaks of the kings whose crowns bowed at Harsha's feet, the very image of an overlordship. Because the empire was held together by Harsha's own strength and prestige, rather than by a settled machinery of state, it would fall apart on his death, as the later parts will show.
Harsha and his Samantas
Distinguishing the feudal turn: the rise of the samanta, the feudatory lord, is the mark of the new early-medieval order that Harsha's empire reveals.
The grant of land to officers and to temples, growing through this age, raised up a class of local lords who held their lands almost as their own. Harsha stood at the head of a pyramid of such lords, the great samantas and beneath them lesser ones, and his empire is among the clearest early examples of this loose, layered order.
| The Mauryan empire | Harsha's paramountcy |
|---|---|
| A single chain of officials to the village. | An overlordship of many feudatory kings. |
| The land ruled directly by the state. | The samantas governed their own lands. |
| Held by a settled machinery of state. | Held by Harsha's own strength and prestige. |
| Survived its founders for generations. | Fell apart on the death of Harsha. |
The Check at the Narmada
Pulakeshin II of the Chalukyas and the Battle of the Narmada
What is the significance of the check at the Narmada: it was the one great defeat of Harsha's career, and it fixed for good the southern limit of his power.
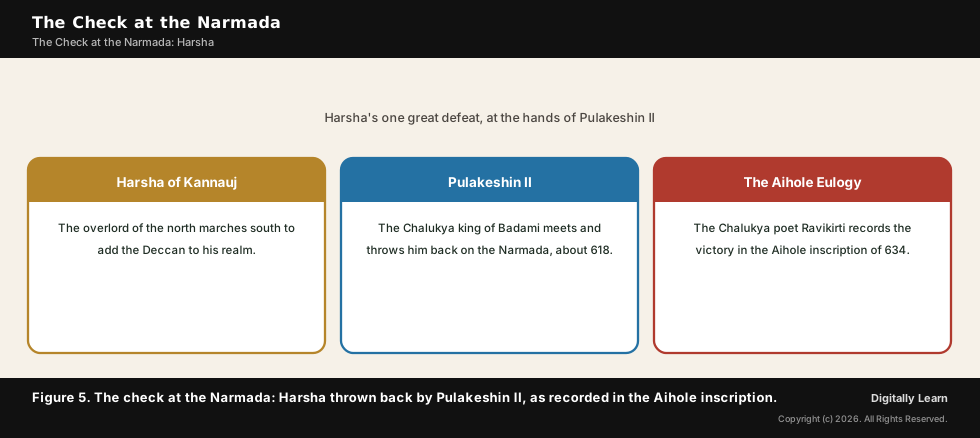
Master of the north, Harsha turned south to add the Deccan to his realm, but on the banks of the Narmada, about 618 to 619, he met Pulakeshin II, the great Chalukya king of Badami, who threw him back. It was the only serious defeat of Harsha's life, and he never tried the Deccan again.
The victory is known above all from the other side, from the Aihole inscription of the Chalukyas, a eulogy composed by the Jain poet Ravikirti about 634. Being the praise of Harsha's enemy, it must be read with care, but it leaves no doubt that the Narmada became the wall between the two powers.
The Narmada as the Southern Limit
Distinguishing the frontier: after the Narmada, the map of the age settles into two great realms, the north of Harsha and the Deccan of the Chalukyas.
The Narmada divided India into two for the rest of Harsha's reign: to the north his own paramountcy, to the south the kingdom of Pulakeshin II, the lord of the Deccan. The examiner's favourite fact is simply this, that Harsha's southward march was stopped on the Narmada by Pulakeshin II, the Chalukya of Badami, not by any Chola or other king.
| The battle of the Narmada | Detail |
|---|---|
| Who stopped Harsha | Pulakeshin II, the Chalukya king of Badami. |
| Where | On the banks of the Narmada river. |
| When | About 618 to 619, in the winter. |
| The record | The Aihole inscription, by the poet Ravikirti (about 634). |
UPSC Relevance and Exam Focus
Where Harsha's Empire Fits in the UPSC-CSE Syllabus
This topic belongs to General Studies Paper I: ancient Indian history, and the extent and nature of Harsha's empire and the check at the Narmada are a steady ground for both Prelims and Mains.
For Prelims, the surest fact is that Harsha's southward march was stopped on the Narmada by Pulakeshin II, the Chalukya king of Badami; the distractors are Pulakeshin I and the two Vikramadityas. Hold too that the Aihole inscription, by the poet Ravikirti, records this victory.
For Mains, the nature of Harsha's state is a strong question: it was a loose paramountcy of feudatories, not a centralized empire on the Mauryan model, which is why it dissolved at his death.
Recurring linked concepts an aspirant should keep in working memory:
- Pulakeshin II: The Chalukya king who stopped Harsha at the Narmada.
- The Narmada: The southern boundary of Harsha’s empire.
- The Aihole inscription: Ravikirti’s record of the Chalukya victory.
- A paramountcy: Harsha’s empire as an overlordship of feudatories.
- The samantas: The feudatory lords beneath Harsha.
A common Prelims trap names a Chola or a Vikramaditya as the king who stopped Harsha; it was Pulakeshin II of the Chalukyas of Badami. Another treats Harsha's empire as a centralized Mauryan-style state; it was a loose paramountcy of feudatory kings.
Previous Year UPSC-CSE Questions
Previous Year UPSC-CSE Questions By the end you will be able to draft model answers for the following UPSC questions. Each question carries a collapsible framework showing how to approach it in the exam.
- UPSC Prelims 2003 GS-IEmperor Harsha's southward march was stopped on the Narmada River by
How to approach this Prelims question
Approach: Recall that the Chalukya king Pulakeshin II of Badami defeated Harsha on the Narmada, fixing it as Harsha's southern limit.
Trap to watch: Not Pulakeshin I and not a Vikramaditya; the victor was Pulakeshin II, and the river was the Narmada.
Key facts to recall:
- Pulakeshin II was the Chalukya king of Badami.
- He stopped Harsha on the Narmada about 618 to 619.
- The Aihole inscription records the victory.
Answer signal: Pulakesin-II.
Sources and Further Reading
Editorial Disclaimer
This article is for UPSC preparation. The date of the battle of the Narmada is approximate, and the account of Harsha's empire follows the standard scholarship on early-medieval India.